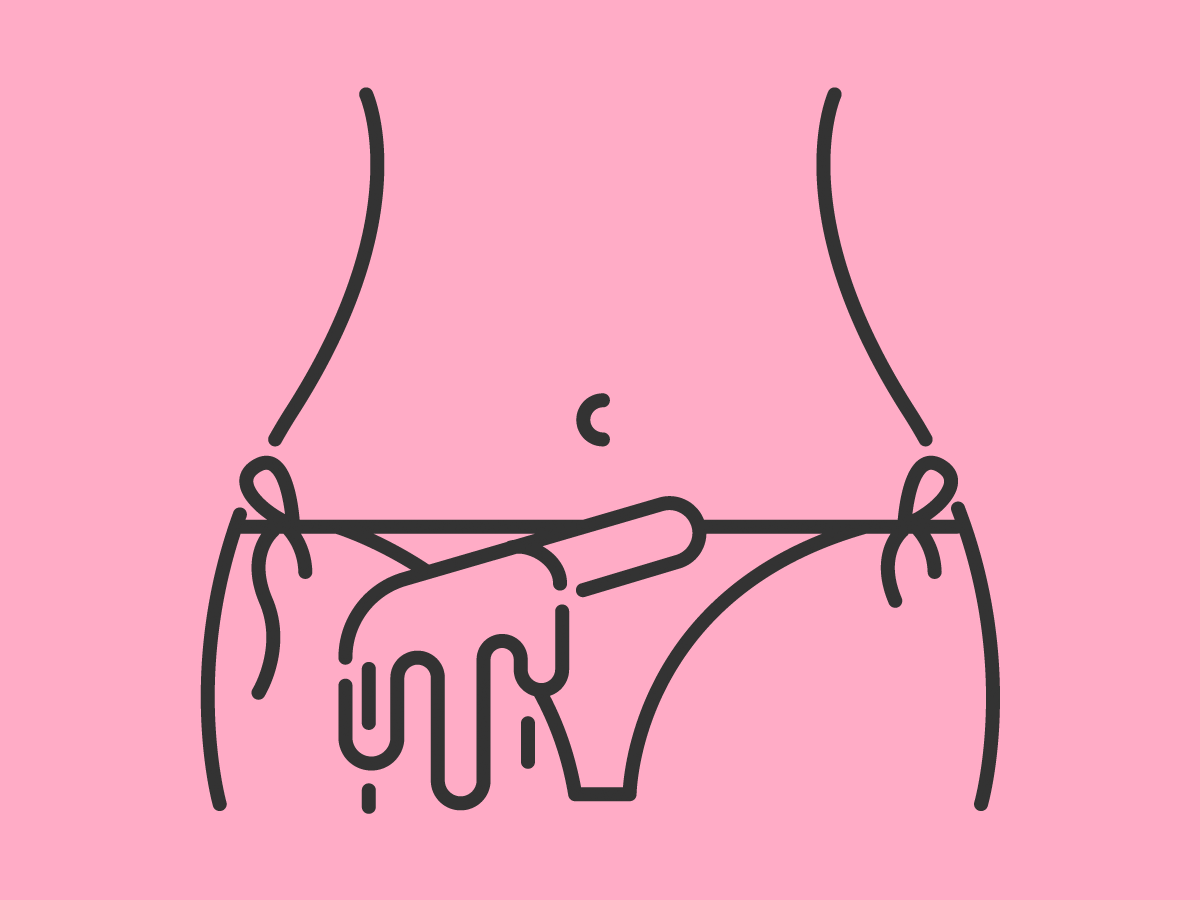
DIY Waxing
Bummed about having to miss your monthly wax appointment? We get it. We reached out to Jessie Frampton, Co-Founder of Fuzz Wax Bar, for the lowdown on a DIW wax. “There is a lot of technique involved to ensure the safety of your skin,” says Frampton. She recommends leaving it to the pros, but if you don’t want to wait, read on for her tips for the most successful, least irritating wax job possible.
(Also, here’s how to shape your eyebrows at home.)
2. Prep the day before
First, read the instructions on your wax kit thoroughly before beginning, and if you have sensitive skin, expect redness and possibly skin irritations. Looking to wax the bikini area? “The best option for down-there is to embrace your hair,” says Frampton. It’s a difficult area to wax yourself, so she suggests trimming the hair instead. “But always make sure there is a comb in between your skin and the scissors,” she warns.
For the other areas you wish to wax, start by exfoliating the skin the day before, says Frampton. This will remove dead skin cells so the wax is able to grab onto the hair better for easy and successful removal. Just make sure to do so the day before as opposed to the day of because skin can be more sensitive after exfoliating, and waxing sensitive skin can lead to more irritations.
You’ll also want to do a patch test with the wax of your choice on your inner wrist. “This ensures that the heat is okay on the area that you’re waxing, and that you do not have any sensitivity to the wax itself,” says Frampton. If you’re new to waxing, try pre-waxed strips, like ones by Nair, which can be much easier than hot wax to use.
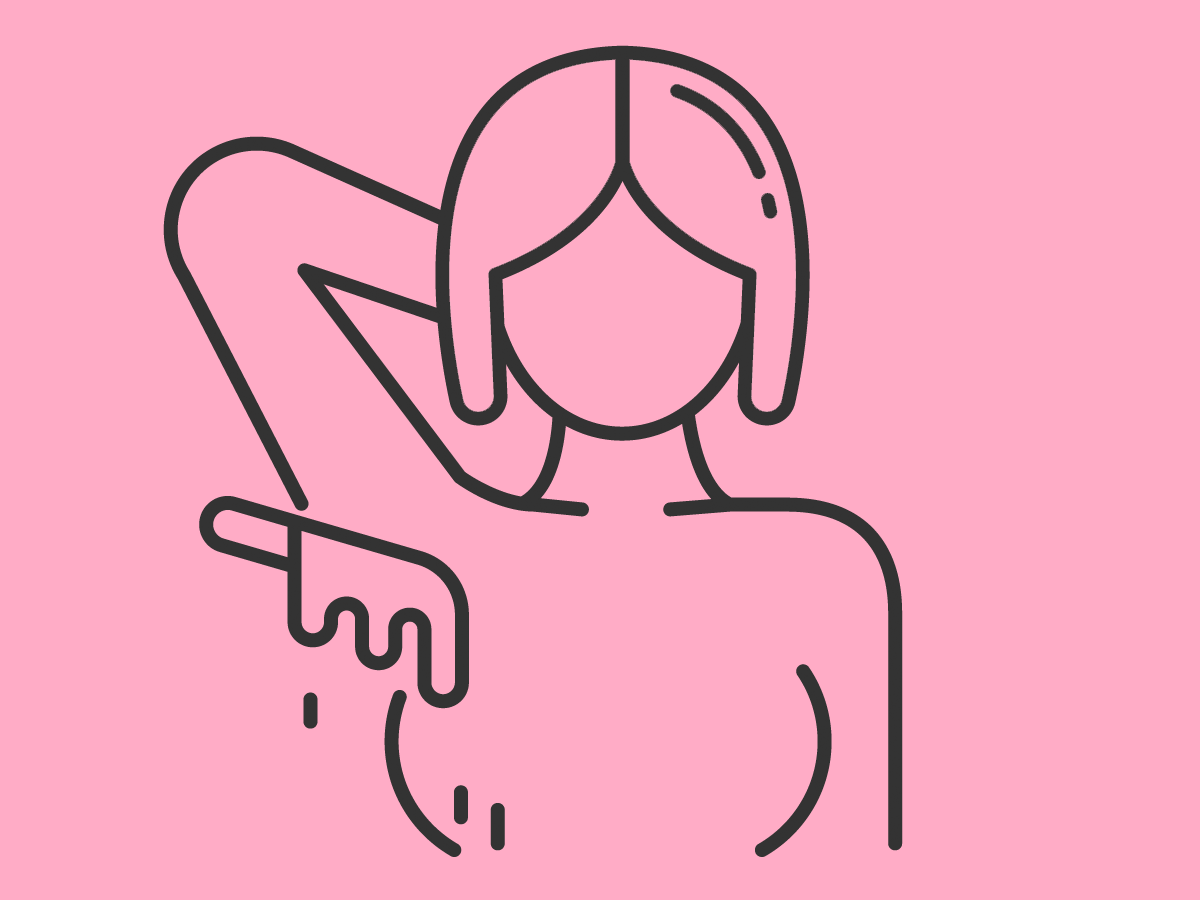
3. Bathe before removing hair and note the direction of hair growth
“Regardless of the body part or part of the face, always make sure you are removing hair on clean, freshly showered skin,” says Frampton. “After a warm shower, your skin will be prepped and ready to go.” But before you warm up the wax, take a look at the area you’re waxing to note the direction of the hair growth. This can help you avoid mistakes when applying the strips (and ripping them off), which can lead to painful results.
(Learn how to prevent ingrown hairs.)
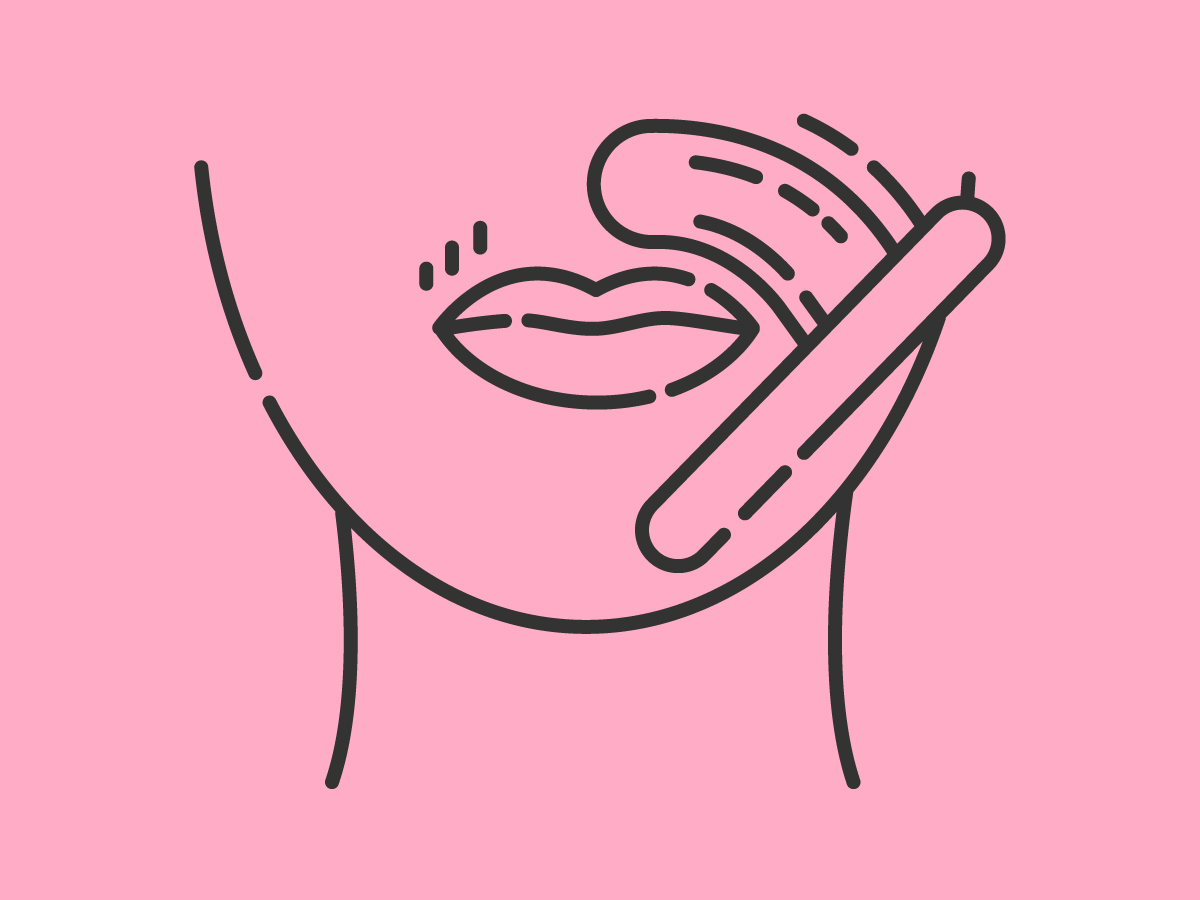
4. Keep skin taut and work in small sections
“Skin bruises easily,” says Frampton. “The wax can get momentarily stuck if not pulled in the right direction, or with the right speed, and this can be not only be painful but overwhelming.” She provides five steps for waxing:
- Working in small sections, apply the wax/wax strips in the same direction the hair grows.
- Keep skin taut when ripping off the strip—which is especially important when removing hair on the face. “This will help avoid bruising, lifting, or pinching the skin,” says Frampton. This will also help prevent the hair from breaking, ensuring you’re ripping it out at the root.
- Rip off the wax strip quickly and in the opposite direction of the hair growth, while staying close and parallel to the skin.
- Immediately after removing the strip, use your fingers to apply pressure to the area for a few seconds to ease the pain.
- Remove excess wax with a touch of oil (like coconut) or fragrance-free lotion.
5. Take precautions to prevent irritations and ingrown hairs
“Avoid working out 24 hours after removal, and wear loose-fitting clothes after your hair is removed,” says Frampton. This will help prevent skin irritations, like redness and hives. “In between your waxes, moisturize, and exfoliate regularly.” Choose a moisturizer that’s fragrance-free to avoid irritation.
Next, learn how to trim your hair at home.
